If you’re like us, you want to enjoy every trip you take to the fullest — but then you want to share stunning photos of your amazing adventure with friends and family back home. We get it, a photo dump on social media is a great way to get your community in on all the fun you’re having (and give yourself a place to look back on your memories).
But taking the most Instagram-worthy shots isn’t always easy. Two people can stand inches apart and somehow end up with photos that look like they were taken on different planets. An eye for framing is helpful, but we almost all have extremely advanced cameras right in our pockets (hi, iPhone!) that can do a lot of the work for us. All we have to do is learn a few basic tips and let Apple do the rest.
The latest iPhones, especially the iPhone 14 and 15 series, come with advanced features that can significantly enhance your travel photography. Even if you’re clinging to an iPhone that could double as a vintage artifact (no judgment here), you can still snap photos that’ll make people ask, “Wait, you took that on a phone?” Here’s how to do it.
Keep Your Lens Clean
This one may sound obvious, but you’d be surprised how many times you may go to take a photo on a trip somewhere like Italy, and the delicious olives you were just having during aperitivo hour have left a smudge of oil on your camera lens. There’s nothing quite like a picturesque Sicilian sunset (with a side of greasy thumbprint).
Before you take any photo or video, give your lenses a quick rub down with your t-shirt, a glasses cleaner, or any other cotton material. Your lines will be sharper and cleaner, and the photo will be much better!
Use the Rule of Thirds

We’ve taught you about this one before, and it’s still equally as important. (Something else we mentioned before — not all sacred spaces and people can be photographed! Be respectful of the wishes of the land and culture around you).
Use the grid on your camera, and the Rule of Thirds that comes along with it, to take photos that line up perfectly. Go to the settings on your iPhone, click “Camera,” and toggle the switch next to “Grid” to enable it.
When you open the camera app, you’ll see a grid with two horizontal and two vertical lines dividing the screen into nine equal parts. This is where the magic happens — place your subject along these lines, or at the intersections. This rule will improve the composition of your photos and make them more appealing to the eye.
Experiment with Cinematic Mode in 4K
The newer iPhones, from 13 and up, have a feature called “Cinematic Mode” that can be your personal director, whether you’re taking clips for a vlog or just sending them in the family group chat. It’s designed to give your videos a more professional look by creating a shallow depth of field and allowing dynamic focus transitions.
To turn it on, open the camera and swipe through the camera modes at the bottom of the screen until you find “Cinematic.” Then, hunt for the 4K option at the top of the screen (if it’s hiding, tap the little arrow to reveal more settings). Next, you can adjust the depth of field (blurriness of the background) by tapping on the “F” icon at the top of the screen.
Now just tap to focus on your subject, start recording, and you’ll have some Hollywood-worthy footage in no time.
Use Burst Mode and Live Photos
Sometimes one photo isn’t enough. The best way to capture multiple (maybe even hundreds) of photos in rapid succession is to use the “Burst Mode” on iPhone.
If you have an iPhone without a home button, press and quickly drag the shutter button to the left (in portrait) or down (in landscape) to start “Burst Mode.” You’ll see the number of photos taken displayed on the screen.
Your “Burst” photos will now be stored in your Photos app with a “Burst” label and you can scroll as long as you want to until you find the perfect shot.
Another fun option is “Live Photos,” which captures a moment with some video context around it. “Live Photos” really bring your photos to life (pun intended) and can be saved as a short video or GIF if the moment is just too good.

Utilize Night Mode
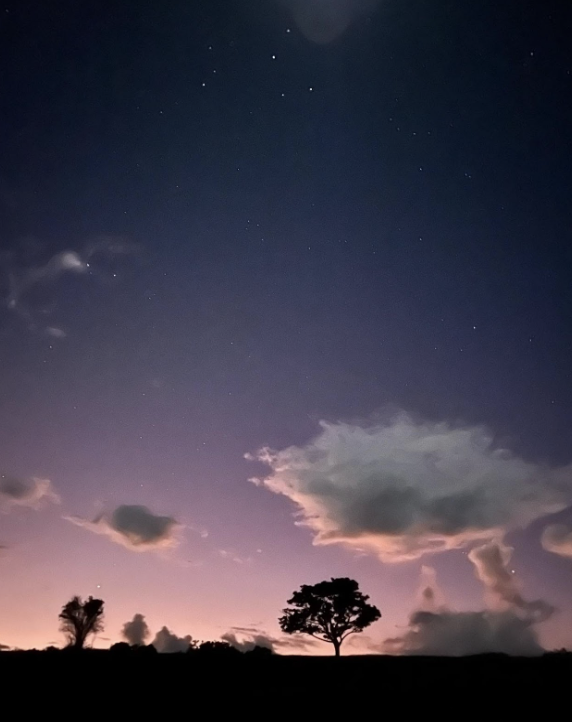
So you’ve left the city and traveled all the way to a place like Patagonia (psst… our next Patagonia Yoga Adventure is in February!), and you can finally see crystal-clear stars. Don’t let the darkness win — if you want to preserve the memory, “Night Mode” on your iPhone can finally do it.
Night Mode is designed to help you take clear, detailed photos in low-light conditions. It automatically kicks in when your iPhone detects a low-light environment, but you can also adjust the settings to optimize your shots. The Night Mode icon is a crescent moon — click that to let your iPhone know you’re taking a shot in the dark.
Embrace Portrait Mode
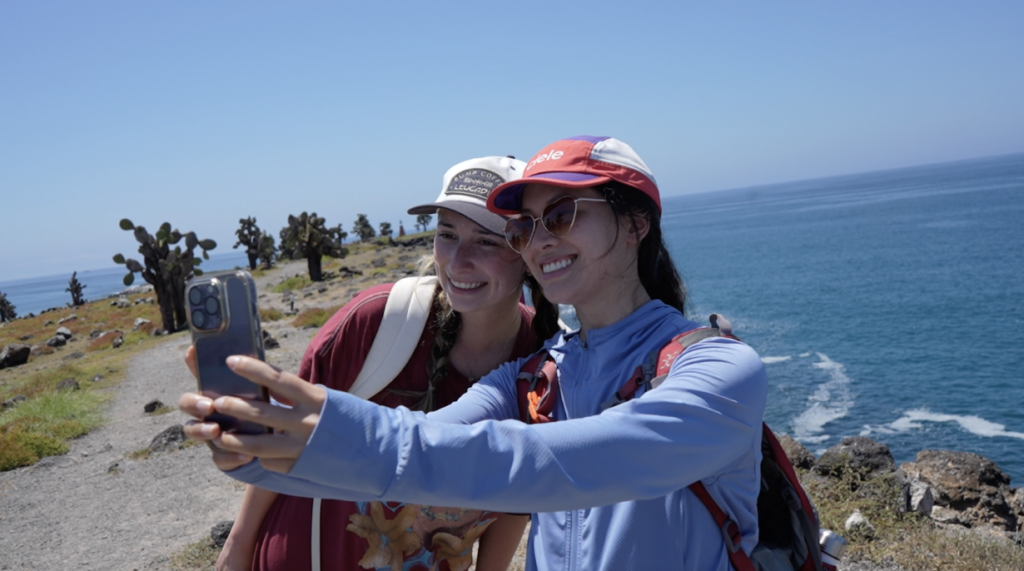
If you’ve been on one of our Yoga Adventures before, you know you’re bound to make friends. Even if you’re a solo traveler wanting to stay in your bubble, sometimes you need more than just a selfie. To take the perfect shot with people included, try “Portrait Mode” on the iPhone 7 Plus and newer.
“Portrait Mode” allows you to capture photos with a sharp subject against a blurred background. The focus can be on your beautiful face(s) — not the other tourists you don’t know walking in the background. If you want a memory that’s frame-worthy, “Portrait Mode” is the way to go.
Edit in the Photos App
Maybe you lined up that shot perfectly, but the horizon is still a little … crooked? No worries. The photos app is here to rescue your inner perfectionist. Choose a photo, click “Edit” in the top right corner, and select the “Crop” function to rotate the picture as much as you want. Getting a straight perspective makes your photos instantly appear more professional.
You can also adjust features like contrast, brightness, saturation, and more in the photos app without having to download or pay for any fancy editing software. There’s even an “Auto” enhance feature that lets the iPhone do all the editing for you, but if you want to take a stab at it yourself, those changes can be easily adjusted.
If you accidentally go too far and end up with a photo that looks like it belongs in a modern art gallery, just tap “Revert” and pretend it never happened.
With these tips and the tiny computer in your pocket, your travel content will not only impress your friends but might also make them wonder if you secretly hired a professional photographer. Happy travels, and may your social media be ever-envied!

